IPSFreelancer Tools
Back to tools

Guide

Instructions

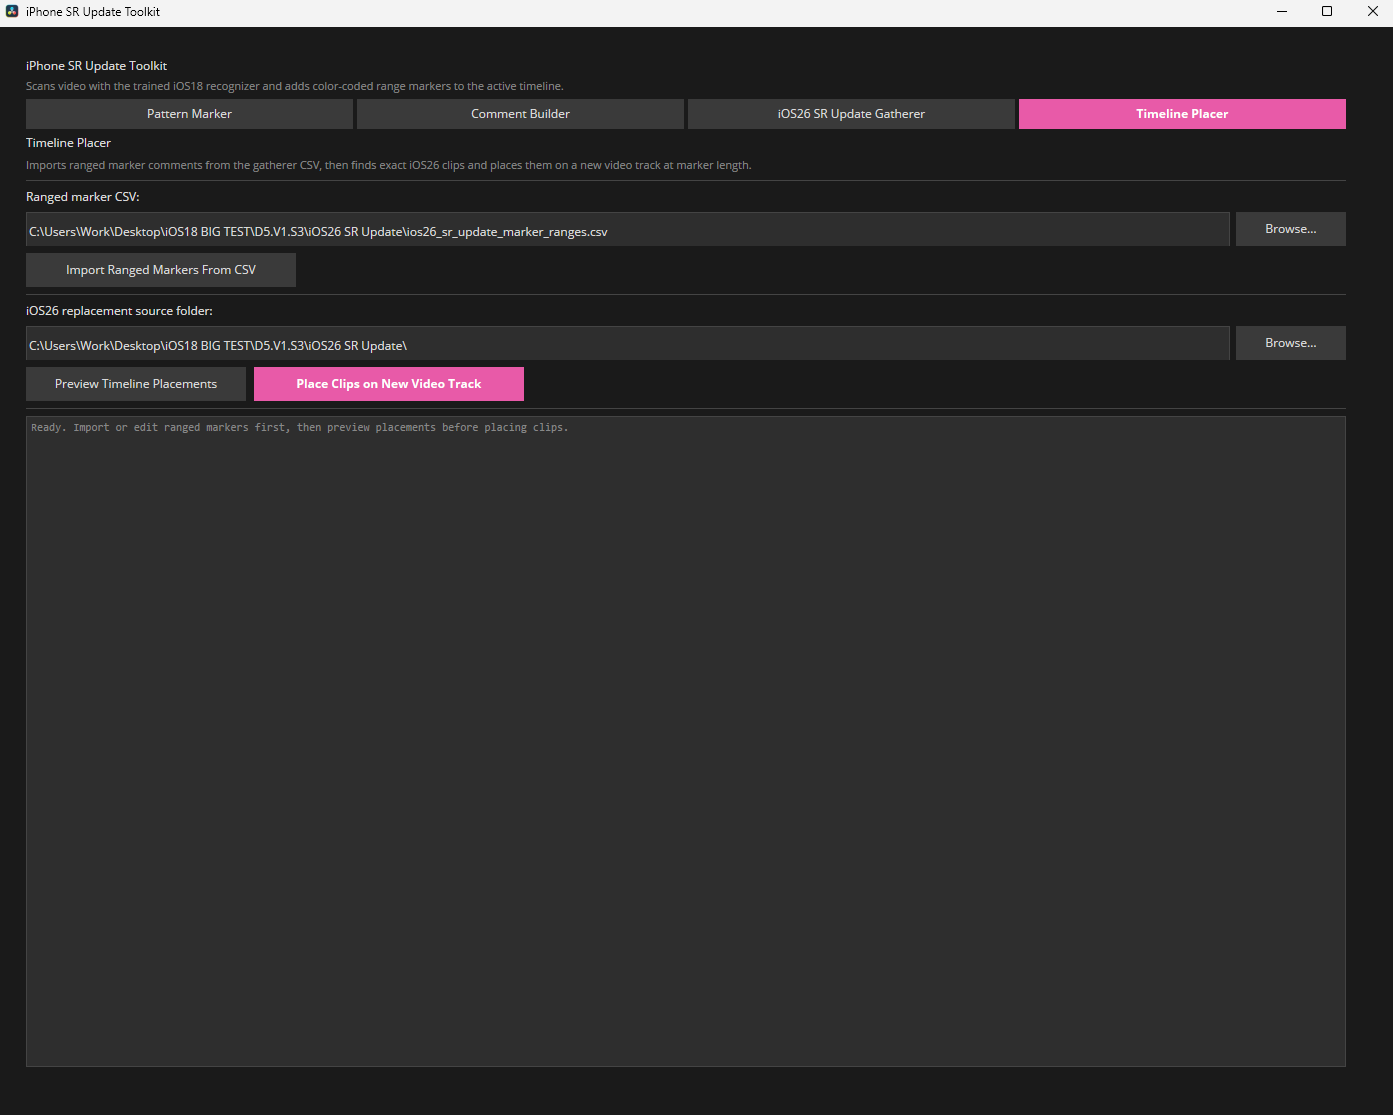
What it does: places iOS replacement screen recordings onto a Resolve timeline by reading a marker CSV, matching replacement clips by filename key, and inserting the correct clip ranges on a new video track.

  1. Open the correct Resolve project and timeline.
  2. Import or locate the replacement iOS screen recordings in the Media Pool.
  3. Open Workspace > Scripts > Utility > iPhone SR Timeline Placer.
  4. Select the marker CSV and the folder/bin that contains the replacement clips.
  5. Preview the matches before placing anything.
  6. Run the placement and scrub the new track to confirm every inserted clip.

Before Sending Back

  • Check that every inserted SR starts and ends at the intended marker range.
  • Confirm the replacement clip visually matches the requested iOS action.
  • Report missing clips or unmatched CSV rows instead of manually guessing.

Setup

Installation

  1. Download the .lua file.
  2. Place it inside Resolve's Utility scripts folder.
  3. Restart DaVinci Resolve.
  4. Open it from Workspace > Scripts > Utility.

Windows: %APPDATA%\Blackmagic Design\DaVinci Resolve\Support\Fusion\Scripts\Utility

macOS: ~/Library/Application Support/Blackmagic Design/DaVinci Resolve/Support/Fusion/Scripts/Utility

Updates

Version History

v1.0
  • Public tool page prepared for timeline placement workflow.
  • Added CSV matching, preview, placement, and install guidance.